
If your e-bike battery won’t charge, start by checking your charging cables, connections, and power source for issues or damage. Inspect the battery for corrosion or physical damage, and make sure it’s properly connected. Reset the system or reboot the e-bike to clear glitches. Test the battery voltage with a multimeter to confirm its health. If problems persist, seeking professional help can save time—and there’s more you can do to troubleshoot effectively.
Key Takeaways
- Check and clean the charging port, cable, and power outlet for debris, damage, or compatibility issues.
- Inspect the battery for cracks, corrosion, or physical damage; clean terminals if needed.
- Reset the e-bike system and update firmware to resolve software glitches affecting charging.
- Test the battery voltage with a multimeter to identify capacity or internal cell problems.
- Seek professional assistance if troubleshooting steps don’t resolve the issue or for battery replacement.
Check the Charging Equipment and Connections
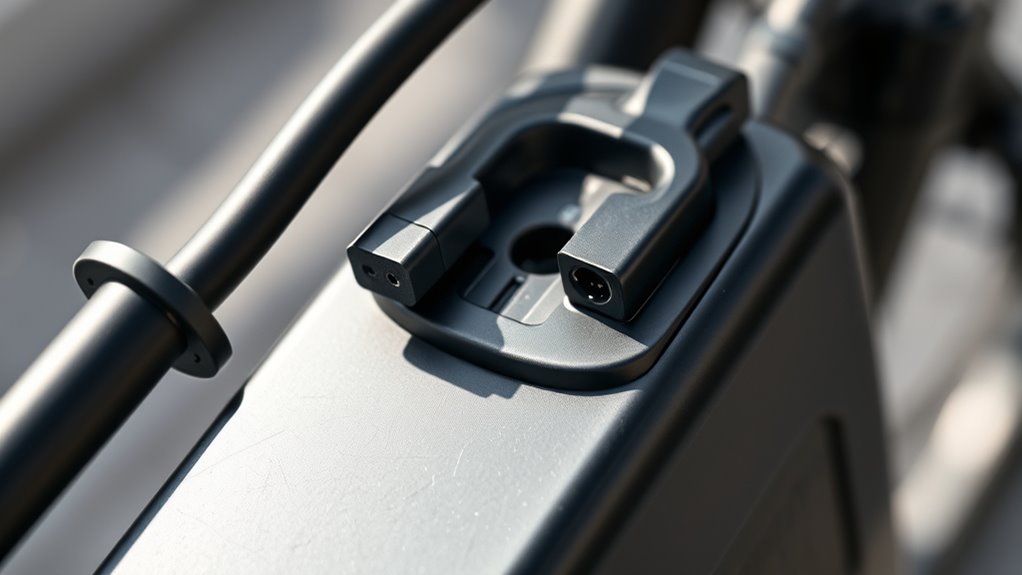
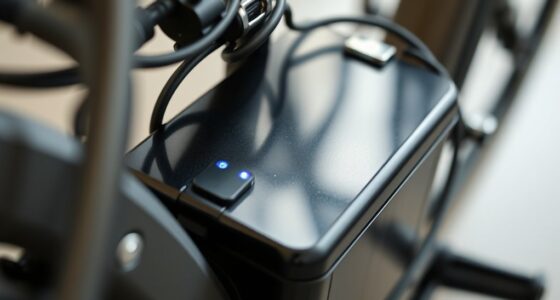
Before assuming there’s a problem with the battery itself, you should first check the charging equipment and connections. Start by inspecting the charging port on your e-bike for dirt, debris, or damage that might block a proper connection. Make sure the charging cable is securely plugged into the port and the power source. Verify that the cable is compatible with your charger; incompatible cables can prevent charging altogether. If you notice any frayed wires or bent prongs, replace the cable immediately. Also, test the power outlet with another device to ensure it’s supplying power. Sometimes, the issue isn’t with the bike but with the charging setup. Taking these steps helps eliminate simple connection problems before diving into more complex battery issues. Additionally, ensuring that your charging equipment meets the power requirements for your e-bike can prevent compatibility issues and ensure safe operation.
Inspect the Battery for Damage or Corrosion
Start by examining your battery for any visible cracks, dents, or other physical damage. Then, check the terminals and connections for signs of corrosion, such as a white or greenish buildup. Addressing these issues can often resolve charging problems quickly. Additionally, ensure that you are using the correct charger with the appropriate Glycolic acid concentrations to prevent potential damage.
Check for Physical Damage
Inspect the battery carefully for any visible signs of damage or corrosion, as these issues can interfere with proper charging. Look closely at the battery casing for cracks, dents, or warping, which indicate physical deformation. You should also check for:
- Cracks or splits in the casing that could expose internal components.
- Bulges or swelling, suggesting internal damage.
- Dents or bent areas that compromise the battery’s integrity.
- Any discoloration or corrosion around the edges, which can signal leaks or damage.
Physical deformation or damage to the battery casing can disrupt connections or cause internal issues, preventing proper charging. If you notice any of these signs, consider replacing the battery or having it professionally inspected. Additionally, battery safety guidelines emphasize the importance of addressing physical damage promptly to prevent further issues.
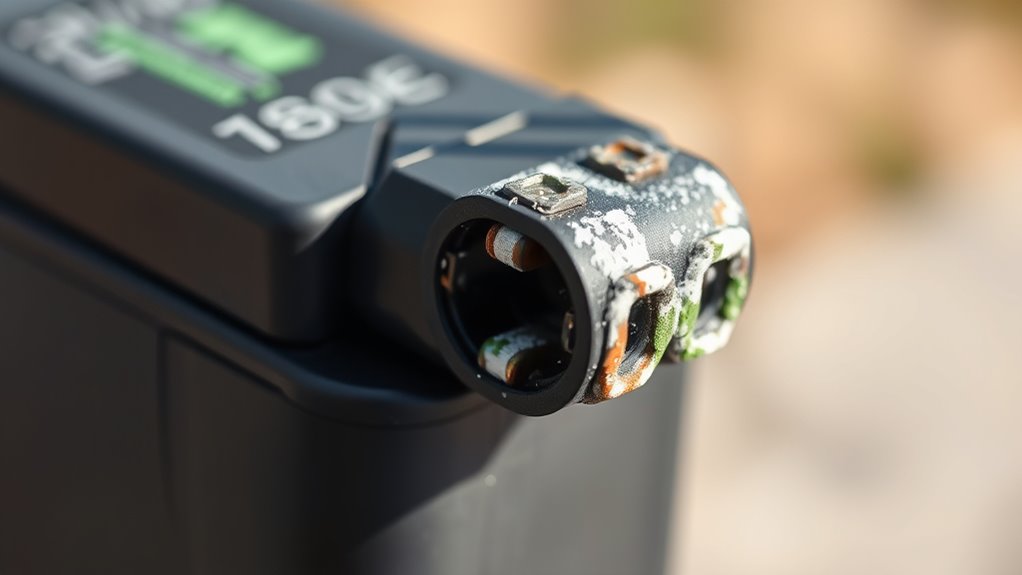
Look for Corrosion Signs
Look closely at the battery’s edges and terminals for any signs of corrosion or buildup. White, green, or bluish deposits indicate corrosion, which can hinder proper charging. Regularly inspecting for corrosion is a key part of good battery maintenance and helps prevent issues down the line. If you spot corrosion, gently clean it with a mixture of baking soda and water, using a soft brush or cloth. Be sure to wear gloves and disconnect the battery before cleaning to avoid electrical hazards. Taking these steps supports corrosion prevention and extends your battery’s lifespan. Maintaining a clean, corrosion-free connection ensures your e-bike charges efficiently and stays reliable. Regular inspections and prompt cleaning are simple yet effective ways to keep your battery in top condition. Additionally, ensure that your battery connections are secure and tight, as loose connections can also impact charging performance.
Verify Power Source and Outlet Functionality
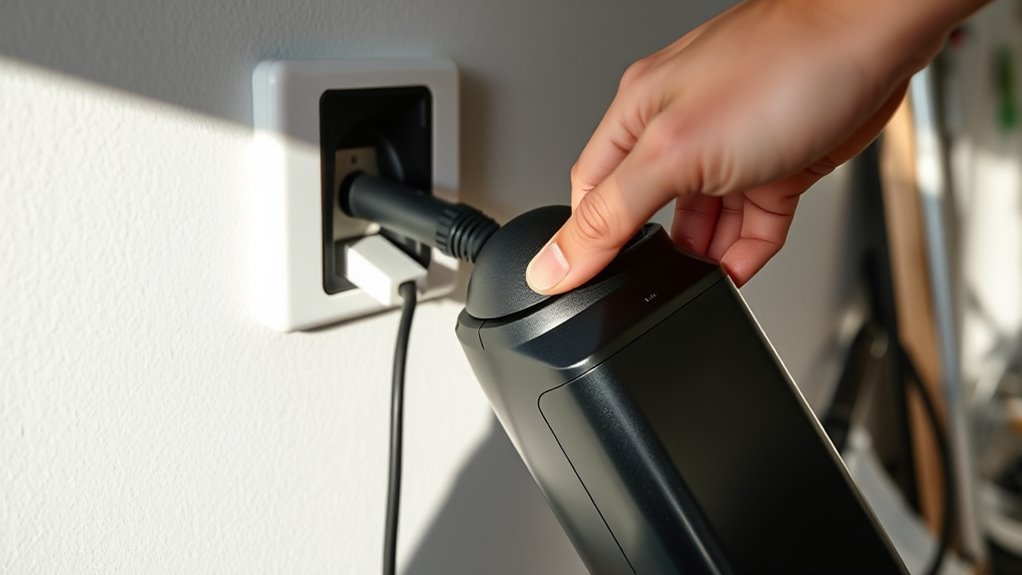
Before assuming the battery is faulty, you should verify that the power source and outlet are working properly. Faulty outlets can disrupt charging safety and cause charging issues. To check, follow these steps:
- Plug in another device to confirm the outlet supplies power.
- Test different outlets to rule out a specific socket problem.
- Inspect the outlet for visible damage or burn marks.
- Ensure your power surge protector (if used) isn’t overloaded or tripped.
- Be aware that best airless paint sprayers often require stable power sources for optimal operation.
If the outlet isn’t functioning, reset circuit breakers or replace damaged outlets. Confirming proper power supply helps avoid unnecessary battery replacements. It’s a simple but essential step to troubleshoot charging issues effectively. Always prioritize safety when working with electrical outlets to prevent hazards.
Reset or Reboot Your E‑Bike System
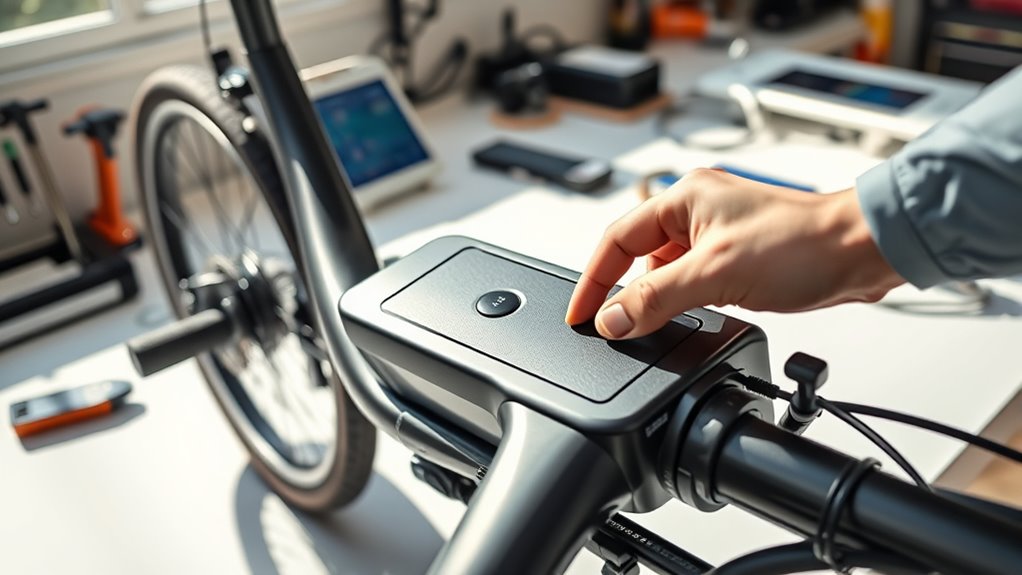
To fix your e-bike’s charging issues, try power cycling the system by turning it off, waiting a few seconds, then turning it back on. If that doesn’t work, check if the system reset needs to be performed or if you should reinstall firmware files. These simple steps can often restore proper function and get your battery charging again. Additionally, ensure your battery is compatible with your system, as mismatched components can lead to charging problems, similar to how color accuracy affects image quality in projectors.
Power Cycling Method
Sometimes, simply resetting your e-bike system can resolve charging issues. Power cycling helps refresh the system, potentially fixing minor glitches affecting battery performance. To do this effectively:
- Turn off your e-bike completely.
- Disconnect the battery from the charger.
- Wait for about 30 seconds to let the system reboot.
- Reconnect the battery and power on the bike.
- Regularly monitor your battery health to ensure optimal performance and longevity.
This process can help preserve your battery’s lifespan and improve charging etiquette. Remember, frequent resets can prevent minor software bugs from impacting charging and ensure your battery remains in good condition. If charging problems persist after power cycling, it might indicate a deeper issue needing professional attention. Properly resetting your system ensures your bike operates smoothly and keeps your battery in prime shape.
Check System Reset
Checking and resetting your e-bike system can often resolve charging issues by clearing minor glitches that may be affecting performance. Sometimes, temporary system errors disrupt charging indicators or cause the battery lifespan to seem shorter than it actually is. To reset, turn off your e-bike completely, then disconnect the battery if possible. Wait a few minutes before reconnecting everything and powering the system back on. This reboot can refresh the system and clear any software hiccups that might be preventing proper charging. It’s a simple step that can restore normal operation without affecting your battery’s overall health. Additionally, understanding how automation in business can improve operational efficiency highlights the importance of maintaining your e-bike’s electrical system. If the charging indicators still don’t show progress, resetting the system helps you determine if the issue is software-related or if deeper troubleshooting is needed.
Reinstall Firmware Files
Reinstalling firmware files can help resolve persistent charging issues by guaranteeing your e-bike’s software is up to date and functioning correctly. A proper firmware reinstallation resets the system, fixing bugs that might prevent charging. To do this:
- Connect your e-bike to a reliable power source and ensure it’s turned off.
- Access the firmware update section in your bike’s settings or use the manufacturer’s app.
- Follow the prompts to download and reinstall the latest firmware version.
- Once complete, restart your e-bike and check if the charging problem persists.
- Regularly updating your firmware can also improve dream recall and overall system stability.
Performing a firmware reinstallation not only refreshes the software update but also clears glitches that could interfere with charging. Keep your system updated regularly to maintain peak performance.
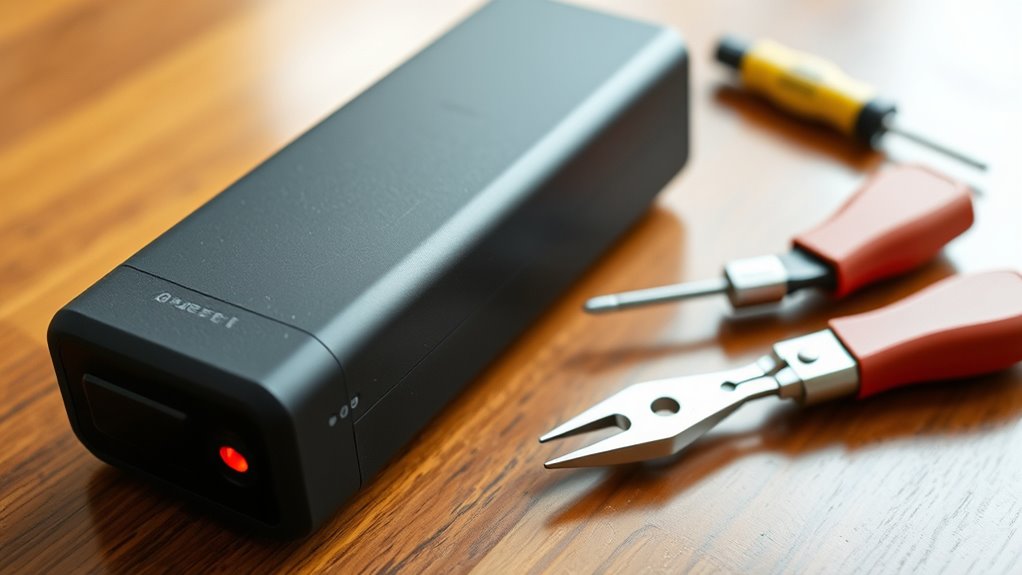
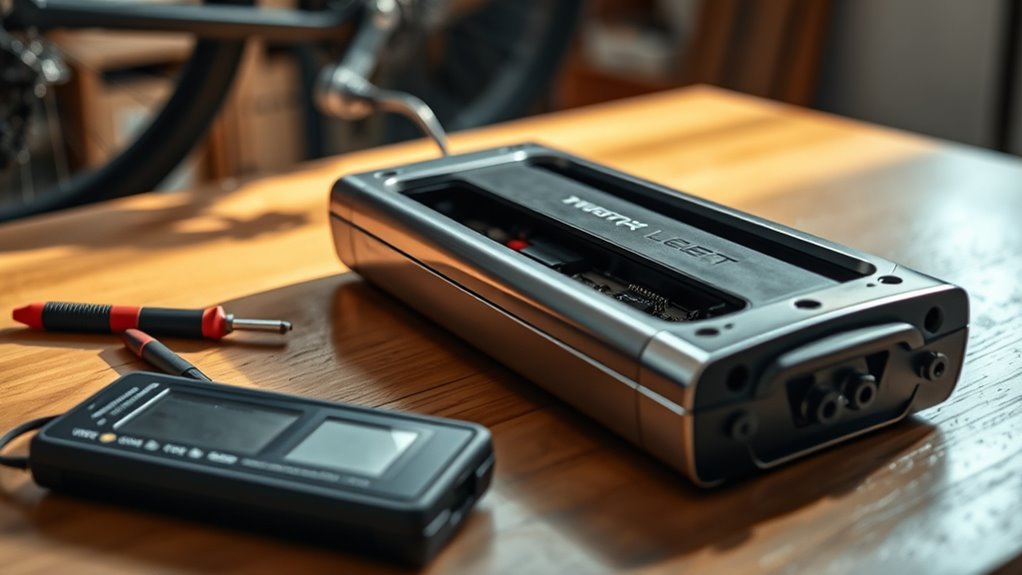
Test the Battery Voltage and State of Charge

To determine whether your e-bike battery is holding a proper charge, you should start by measuring its voltage with a multimeter. This helps you assess the battery’s state of charge and whether it’s functioning correctly. Knowing the battery chemistry—such as lithium-ion or lithium-polymer—can influence what voltage levels you should expect. Check the battery terminals and compare the reading to the manufacturer’s specifications; a markedly lower voltage indicates a depleted or faulty battery. Be mindful of voltage regulation, which maintains a consistent voltage output during operation. If the voltage is low or inconsistent, it may suggest a problem with the battery’s capacity or internal chemistry. Regular testing ensures you catch issues early and helps determine if the battery needs reconditioning or replacement. Additionally, understanding AI security measures can help protect your e-bike’s electronic components from cyber threats.
Seek Professional Assistance if Necessary
If you’ve tested your e-bike battery and still can’t identify the problem, it’s best to seek professional assistance. Experts can diagnose issues beyond simple troubleshooting, such as internal cell damage or faulty circuitry. When consulting a professional, consider these steps:
- Have them evaluate whether your battery needs proper battery disposal or if it’s eligible for replacement options.
- Ask about proper battery disposal procedures for eco-friendly recycling.
- Discuss whether your battery requires a complete replacement or repair.
- Ensure they check other components like the charger or connections that might be causing charging issues.
- Additionally, understanding battery maintenance practices can help prolong your e-bike’s battery life and prevent future problems.
Professional technicians can guide you on safe disposal methods or help you select the best replacement, ensuring your e-bike remains safe and functional.
Frequently Asked Questions
How Long Should It Take to Fully Charge My E-Bike Battery?
Charging times for your e-bike battery typically range from 3 to 8 hours, depending on the battery capacity and charger type. You should plan for a full charge within this timeframe to guarantee peak performance. Proper battery maintenance, like avoiding overcharging and storing it in a cool, dry place, helps keep charging times consistent and extends your battery’s lifespan. Always follow manufacturer guidelines for best results.
Can Extreme Temperatures Affect My E-Bike Battery Charging?
Imagine you’re charging your e-bike on a chilly winter morning. Extreme temperatures, especially cold, can slow down or prevent your battery from charging properly. Low temperatures affect battery chemistry, so make certain your battery insulation keeps it warm. Also, check your charging accessories—they should be rated for cold weather. By maintaining proper insulation and using suitable chargers, you help your battery charge efficiently, even in harsh conditions.
Is It Safe to Leave the Battery on Charge Overnight?
You might wonder if it’s safe to leave your e-bike battery on charge overnight. Generally, with proper battery maintenance and charging safety, it’s okay, as modern batteries have built-in protections to prevent overcharging. However, always follow the manufacturer’s guidelines. Make sure you use the correct charger, keep the area well-ventilated, and avoid extreme temperatures. Regularly check your battery for any signs of damage to ensure safe overnight charging.
What Are the Signs of a Failing E-Bike Battery?
You might notice your e-bike battery showing signs of failing if you see reduced range or inconsistent power delivery. Battery degradation causes these issues, and charging indicators may flicker or stay on longer than usual. You could also experience difficulty attaining full charge or the battery heating up excessively. These signs suggest your battery is deteriorating and might need replacement soon to ensure safe and reliable riding.
How Often Should I Replace My E-Bike Battery?
Think of your e-bike battery as a wise old traveler, with a lifespan that gradually shortens with each journey. You should consider replacement timing when its capacity diminishes markedly, typically after 300-500 full charge cycles, or when it no longer provides reliable power. Keep an eye on performance and capacity signs; when they decline, it’s time to replace your battery to guarantee the best riding experience and safety.
Conclusion
When your e-bike battery won’t charge, it’s easy to feel frustrated, like staring at a silent engine in a world that’s moving. But with a few simple checks—your charger, connections, and power source—you can often find the spark to get going again. Think of it as troubleshooting a puzzle, where patience turns a stubborn, unresponsive battery into a reliable ride. Don’t give up; your next adventure is just a charge away.