Common e-bike error codes often relate to battery issues, motor faults, wiring problems, or sensor malfunctions. You should check connections, inspect the battery charge, and reset the system if needed. Pay attention to display alerts, brake system warnings, and throttle responses. Proper maintenance and prompt fixes help prevent recurring errors. Want to keep your e-bike running smoothly? Explore the detailed solutions that can help you resolve these issues effectively.
Key Takeaways
- Identify specific error codes from the display or controller manual to determine the underlying issue.
- Common errors include overvoltage, undervoltage, motor faults, sensor calibration issues, and brake system alerts.
- Reset the system by turning off the e-bike, removing the battery, waiting a few minutes, then restarting.
- Check wiring connections, inspect for corrosion or damage, and ensure all plugs are securely attached.
- Perform routine maintenance like brake checks, sensor calibration, and firmware updates to prevent frequent error codes.
Understanding Battery Error Codes and Solutions

Have you ever encountered a battery error code on your e-bike and wondered what it means? These codes often relate to the bike’s battery management system (BMS), which monitors voltage, temperature, and overall health. When an issue arises, the BMS triggers an error code to alert you. Understanding these codes helps you identify if the problem stems from improper charging protocols or battery wear. For example, if you see a code indicating overvoltage or undervoltage, it’s likely due to incorrect charging practices or a faulty charger. Always follow the manufacturer’s recommended charging protocols to prevent damage and extend your battery’s lifespan. Proper battery management ensures safe operation, minimizes error codes, and keeps your e-bike running smoothly. Additionally, being aware of AI security concerns can help protect your device and data from emerging vulnerabilities.
Diagnosing Motor and Controller Error Messages
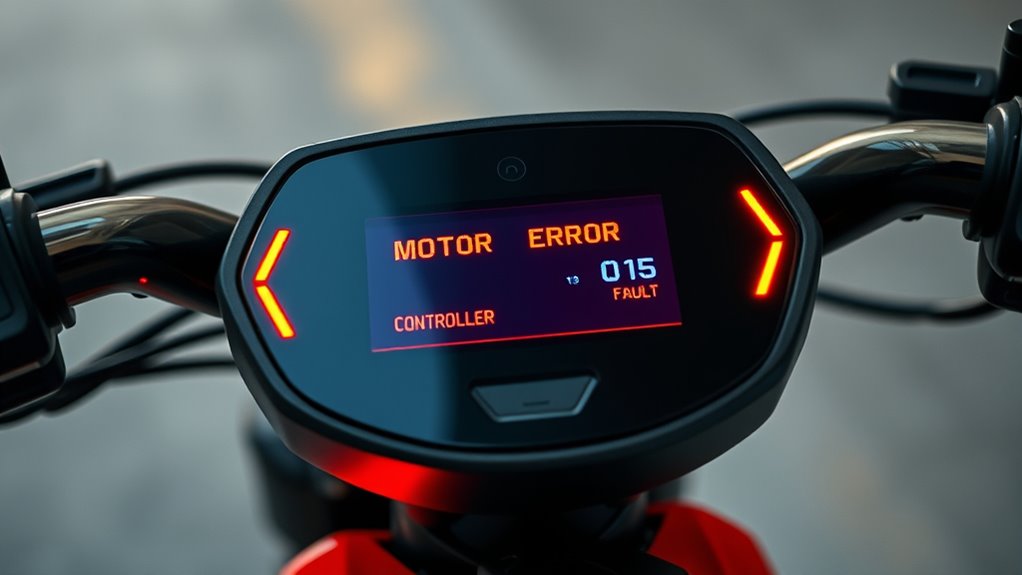
When you encounter motor or controller error messages, your first step is to interpret the codes to understand what’s wrong. Once you identify the issue, resetting the system can often clear the error and get your e-bike back on the road. We’ll guide you through these steps to troubleshoot quickly and effectively. Additionally, understanding projector calibration can help ensure your display settings are optimized for the best performance.
Interpreting Error Codes
Interpreting error codes is essential for quickly diagnosing issues with your e-bike’s motor and controller. These codes help you understand what’s wrong without guesswork, especially when it comes to maintaining battery lifespan and following proper charging protocols. A flashing or displayed error code can indicate specific problems, such as overheating, wiring issues, or controller faults. Knowing how to interpret these signals allows you to identify whether the issue relates to a faulty sensor, a worn-out component, or improper charging. Pay attention to the pattern of error messages and consult your e-bike’s manual for exact meanings. Acting promptly based on these codes can prevent further damage, extend your battery’s life, and ensure your bike runs smoothly. Understanding error code patterns can further assist in accurate diagnostics and effective troubleshooting.
Resetting the System
Resetting your e-bike’s system is often the quickest way to clear error messages related to the motor and controller. To do this, turn off the bike and remove the battery to guarantee battery safety. Wait a few minutes before reinserting the battery, which helps reset the system. Make sure you follow proper charging procedures before restarting, as overcharging or improper charging can cause errors. Once the battery is back in place, turn on your e-bike and check if the error persists. If it does, recheck your connections and ensure the battery is fully charged. Resetting the system can often resolve minor glitches without the need for professional repairs, but always prioritize safe handling and correct charging habits to prevent future issues. Proper charging habits are essential to maintain the health of your e-bike’s battery and prevent error codes.
How to Address Display and Wiring Faults
Start by inspecting the display connections to verify they’re secure and free of damage. If issues persist, try resetting the display settings to default. Finally, check the wiring throughout the e-bike to identify any broken or loose connections that could be causing faults. For a comprehensive approach, consider reviewing the dog names associated with your specific model to ensure compatibility and proper functioning.
Inspect Display Connections
If your e-bike display is showing error codes or not functioning properly, the first step is to check the connections between the display and the wiring harness. A secure wiring inspection can quickly identify loose or damaged display connections that cause faults. Follow these steps:
- Turn off your bike to prevent electrical shocks.
- Carefully disconnect the display from the wiring harness.
- Inspect the display connections for corrosion, wear, or broken pins.
- Reconnect everything firmly, ensuring all connections are snug.
- Remember that proper maintenance of your electrical connections can prevent future issues and extend the lifespan of your e-bike components.
This simple wiring inspection can resolve many display issues, restoring proper communication between your e-bike’s components. Don’t underestimate the power of a tight, clean connection — it’s often the key to fixing display errors efficiently.
Reset Display Settings
After ensuring your display connections are secure and free of corrosion or damage, resetting the display settings can often clear lingering faults caused by incorrect configurations or minor glitches. Start by powering off your e-bike, then navigate to the display menu. Look for options like “Reset” or “Restore Defaults” to reset display calibration. This process can resolve issues stemming from software updates or misconfigured settings. Keep in mind, some displays may require a specific reset sequence outlined in your user manual. To help, here’s a quick overview:
| Step | Action | Result |
|---|---|---|
| Power off | Turn off the e-bike | Safe to reset |
| Access settings | Enter display menu | Find reset options |
| Reset and reboot | Confirm reset, restart | Clear glitches, update calibration |
Resetting helps restore excellent display performance. Additionally, understanding display settings can improve troubleshooting efficiency.
Check Wiring Integrity
Wiring issues are a common cause of display and electrical faults on your e-bike. To fix this, you need to perform thorough wiring inspections and connection testing. First, carefully examine all cables for visible damage like cuts or frays. Second, ensure connectors are fully plugged in and securely latched. Third, gently wiggle each connection to detect any looseness or intermittent contact. Fourth, replace any damaged or worn wiring to restore proper function. These steps help you identify faulty wiring that could trigger error codes or malfunctions. By systematically checking wiring integrity, you prevent further issues and keep your e-bike running smoothly. Remember, maintaining good wiring connections is key to avoiding costly repairs and ensuring reliable performance. Regularly inspecting and maintaining your wiring setup can also improve overall lifestyle by preventing unexpected breakdowns and ensuring safe operation.
Troubleshooting Sensor and Throttle Issues

Sensor and throttle issues are common causes of e-bike errors, and addressing them promptly can save you time and frustration. If your e-bike isn’t responding smoothly, start by checking the sensor calibration. Proper calibration guarantees the sensor accurately detects pedal movement and power output. If the motor feels unresponsive or jerky, consider adjusting the throttle. Throttle adjustment involves making sure the throttle responds smoothly without sticking or delays. Sometimes, dirt or misalignment can interfere with sensor signals, so clean and realign components if needed. Also, verify that connections are secure and undamaged. Correct calibration and proper throttle adjustment can resolve many sensor and throttle-related error codes, restoring your e-bike’s performance and ensuring a safer, more enjoyable ride. Regularly monitoring your e-bike’s performance can help catch issues early and maintain optimal functionality.
Common Brake System Error Alerts and Fixes
Brake system errors are common on e-bikes and can substantially impact safety and performance. When you see a brake alert, don’t ignore it. Here are key fixes to contemplate:
- Check brake pads for wear or damage; inspect and replace if needed.
- Perform a brake fluid check; low or contaminated fluid can trigger errors.
- Ensure brake calipers are properly aligned and not sticking.
- Reset the system by turning off your e-bike, then restarting after fixing issues.
- Regularly monitor your brake system to prevent errors and ensure optimal performance.
Ignoring these alerts can lead to brake failure or reduced stopping power. Regular brake pad inspection and brake fluid check are simple steps that keep you safe. Addressing these errors immediately ensures your e-bike performs reliably and safely every ride.
Preventative Tips to Avoid Future Error Codes

To minimize the chances of encountering error codes on your e-bike, regular maintenance and proactive care are essential. Proper charging habits help preserve battery longevity, reducing the risk of errors related to power management. Always use the recommended charger and avoid overcharging or leaving the battery plugged in after it’s full. Keep the battery clean and store it in a cool, dry place when not in use. Regularly inspect electrical connections for corrosion or damage. Firmware updates from the manufacturer can also prevent software-related error codes. Avoid exposing your e-bike to extreme temperatures or harsh weather conditions, which can strain components. Incorporating AI-powered diagnostics can help identify potential issues before they result in error codes. By practicing these preventative tips, you’ll extend your e-bike’s lifespan and enjoy smoother rides with fewer error alerts.
Frequently Asked Questions
Can Error Codes Vary Between Different E-Bike Brands?
Yes, error codes can vary between different e-bike brands. You’ll find that each brand has its own brand-specific diagnostics, which means error codes might look different and require specific solutions. Always check if your bike needs a firmware update, as manufacturers often release updates to fix bugs and improve performance. Staying familiar with your e-bike’s manual helps you interpret error codes correctly and guarantees you can troubleshoot effectively.
How Often Should I Check My E-Bike for Error Codes?
Think of your e-bike like a trusted friend—regular check-ins keep it happy and healthy. You should check for error codes during your maintenance schedule, ideally once a month, or if you notice any performance issues. This helps you catch problems early and follow troubleshooting steps before they grow. Staying vigilant guarantees your ride remains smooth, safe, and ready to take you on new adventures whenever you hit the road.
Are There Any Safety Precautions Before Attempting Repairs?
Before attempting repairs on your e-bike, always prioritize safety. Wear protective gear like gloves and goggles, and follow a safety checklist to avoid accidents. Make sure the bike is turned off and unplugged if applicable. Work in a well-lit area, and keep your tools organized. Taking these precautions helps prevent injuries and ensures you can troubleshoot effectively without risking harm. Safety always comes first when handling bike repairs.
What Tools Are Needed to Fix Common E-Bike Error Issues?
To fix common e-bike error issues, you’ll need some basic diagnostic tools like a multimeter and a screwdriver. A multimeter helps you check electrical connections, while a screwdriver is essential for opening panels and accessing components. Battery testing equipment is also vital to assess your battery’s health and voltage. Having these tools on hand allows you to identify problems quickly and perform necessary repairs safely and efficiently.
When Should I Seek Professional Help for E-Bike Error Codes?
You should seek professional help when error codes persist after basic troubleshooting, especially if you’re unsure about the issue. A professional diagnosis guarantees accurate repairs and helps avoid further damage. Additionally, consider warranty considerations; attempting repairs yourself may void coverage. If error codes keep reappearing or you’re uncomfortable handling the problem, it’s best to consult an expert to ensure your e-bike stays safe and reliable.
Conclusion
By knowing these common e-bike error codes and how to fix them, you’re like a detective solving a mystery on two wheels. Regular maintenance and quick troubleshooting keep your ride smooth and trouble-free. Think of your e-bike as a trusted partner—you’ll get the best performance when you listen to its signals. Stay attentive, address issues promptly, and enjoy the ride without letting small problems turn into big headaches. Happy cycling!