
To adjust your e-bike disc brakes, start by gathering tools like Allen wrenches, a rotor truing tool, and a screwdriver. Check your brake pads for wear and make sure the caliper and rotor are properly aligned. Adjust the cable tension or hydraulic lever for a firm feel. Test the brakes and fine-tune as needed for smooth, reliable stopping power. If you keep going, you’ll soon master all the essential steps for ideal brake performance.
Key Takeaways
- Gather necessary tools like Allen wrenches, screwdrivers, and a rotor truing tool before starting adjustments.
- Check brake pad wear and replace pads if they are thin or damaged to ensure effective braking.
- Align the caliper properly over the rotor for smooth operation and prevent squeaking or uneven wear.
- Adjust brake lever position for comfortable reach and optimal control during riding.
- Fine-tune cable tension or hydraulic fluid pressure to improve brake responsiveness and stopping power.
Tools and Materials Needed for Brake Adjustment
To properly adjust your e-bike disc brakes, you’ll first need a few essential tools and materials. Start with a Allen wrench set to loosen or tighten caliper bolts for caliper alignment. A rotor truing tool or a clean, soft cloth helps with rotor inspection, ensuring the disc isn’t warped or bent. A Phillips or flat-head screwdriver may be necessary for brake pad adjustments. Additionally, a bleed kit is useful if your brakes require fluid maintenance. Don’t forget to have a pair of pliers or a torque wrench for secure bolt tightening. Properly inspecting the rotor for damage and ensuring correct caliper alignment are key steps before fine-tuning the brake pads. Gathering these tools ensures a smooth, safe brake adjustment process. Regular maintenance can help prevent issues like warped rotors or misaligned calipers, ensuring optimal braking performance.
Understanding Your E‑Bike Disc Brake System
To properly adjust your E‑bike disc brakes, you need to understand how they work. Your system includes components like the brake lever, caliper, rotor, and pads, which all play a role in stopping power. Knowing how these parts interact helps you maintain and troubleshoot your brakes effectively. Additionally, high-quality brake components can significantly influence overall braking performance and reliability.
Brake System Components
Understanding the key components of your e-bike’s disc brake system is essential for effective maintenance and adjustments. Your system mainly consists of three parts: the caliper, rotor, and lever. The caliper holds the brake pads, which press against the rotor to slow your bike. The rotor is attached to the wheel hub, spinning with the wheel. The lever, connected to either hydraulic or mechanical systems, activates the brakes. Hydraulic brakes use brake fluid types like mineral oil or DOT fluid, offering smooth, powerful stopping. Mechanical systems rely on cables for actuation. Knowing whether your system is hydraulic or mechanical helps you troubleshoot issues and perform adjustments accurately. Proper understanding of these components guarantees your brakes perform reliably and safely. Additionally, being aware of retail hours can be helpful if you need to purchase replacement parts or tools at local stores.
Disc Brake Mechanics
Ever wonder how your e-bike’s disc brakes actually work to bring you to a stop? When you squeeze the brake lever, it applies hydraulic pressure through brake fluid, which travels inside the brake lines. This pressure pushes against a piston in the caliper, forcing the brake pads to clamp onto the disc rotor. The friction between the pads and rotor slows the wheel down. Since hydraulic systems use brake fluid, they provide smooth, consistent stopping power and require less effort from you. Understanding this mechanic helps you grasp why maintaining proper brake fluid levels and checking for leaks are vital. If the hydraulic pressure drops or brake fluid becomes contaminated, your stopping performance can suffer. Regular maintenance ensures your disc brakes operate safely and efficiently. Additionally, inspirational quotes about fatherhood can remind us of the importance of care and support, much like maintaining your bike’s braking system.
Checking the Brake Pads for Wear and Damage
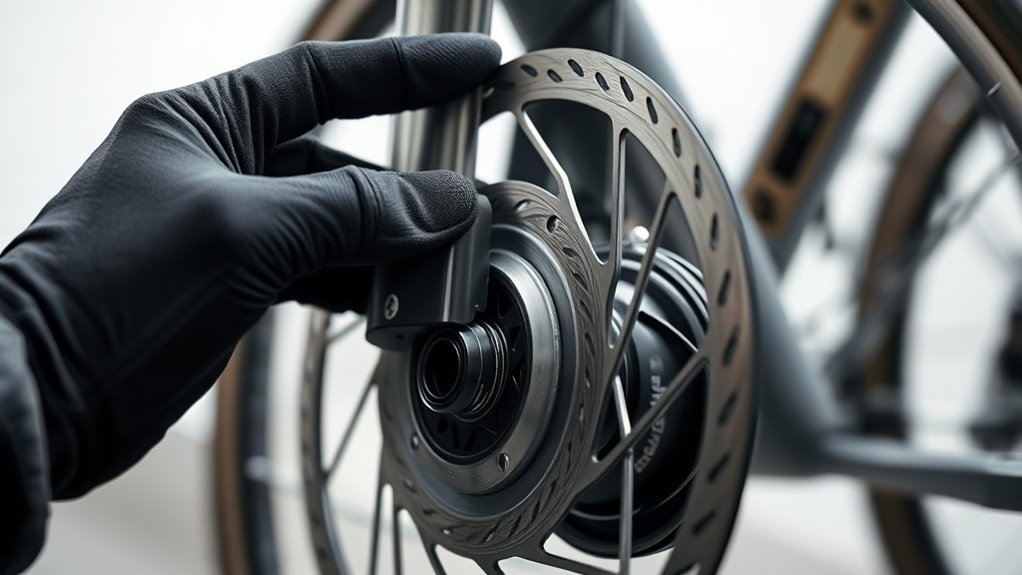
Before adjusting your e-bike’s disc brakes, it’s important to check the brake pads for wear and damage. Start with a thorough brake pad inspection to ensure they haven’t worn down too thin. Next, do a wear indicator check—most pads have a built-in marker that shows when replacement is needed. Finally, look for any cracks, chips, or uneven wear that could compromise braking performance. Staying informed about automated systems in brake technology can also help you better understand the maintenance requirements.
Check your brake pads for wear, damage, and cracks before adjusting your e-bike’s disc brakes.
To stay safe and effective, remember these steps:
- Inspect the brake pads for thickness and damage.
- Check the wear indicator for signs it’s reached the limit.
- Look for cracks, chips, or uneven wear patterns.
Performing these checks regularly helps maintain reliable braking and extends your brake pad lifespan.
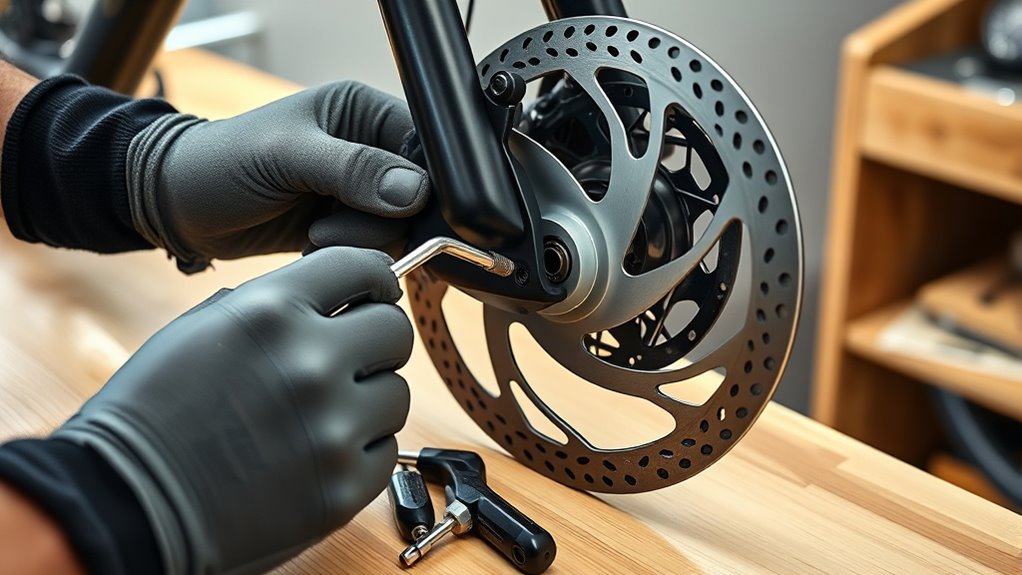
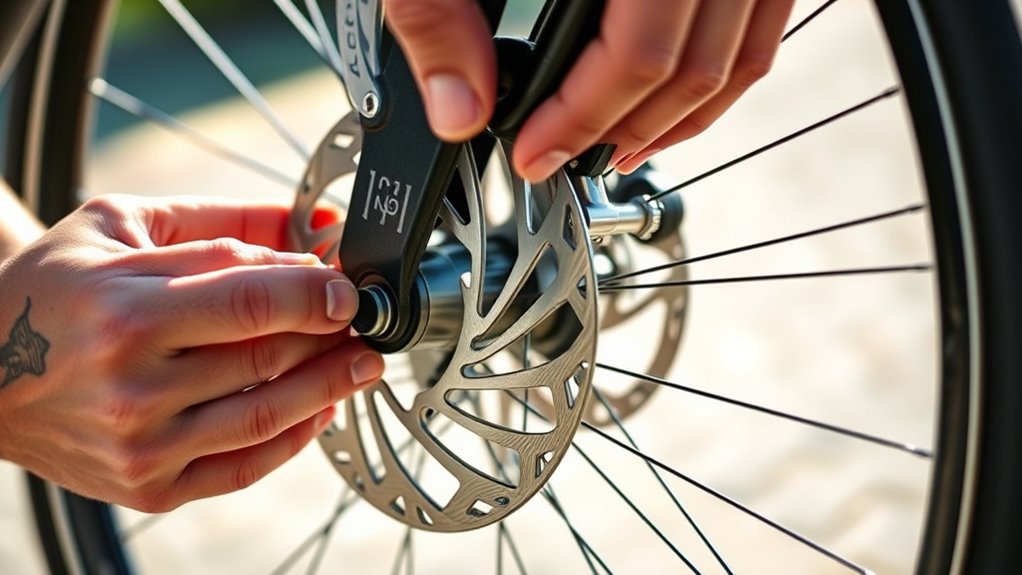
Loosening and Repositioning the Brake Caliper

To guarantee your disc brakes function properly, you’ll need to loosen and reposition the brake caliper. Start by caliper loosening to free it from its mountings, making it easier to adjust. Once loosened, carefully move the caliper so it’s centered over the rotor. This caliper repositioning ensures the brake pads contact the rotor evenly, preventing uneven wear and squeaking. Don’t tighten the bolts fully yet; keep some slack so you can fine-tune the caliper’s position. Check that the rotor spins freely without rubbing against the pads. If necessary, make small adjustments until the caliper sits perfectly aligned. Proper caliper repositioning is key to achieving smooth, effective braking and extending the lifespan of your brake components. Additionally, maintaining optimal caliper alignment can help prevent creaking sounds and improve overall braking efficiency.
Aligning the Brake Rotor and Caliper
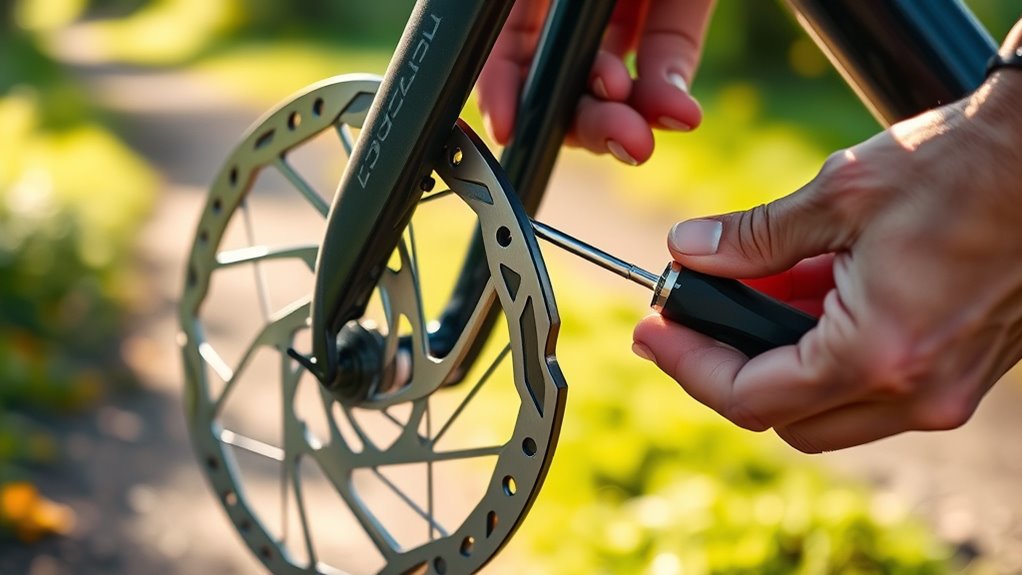
Aligning the brake rotor and caliper is essential for effective braking and even wear. If your rotor warps or the caliper isn’t properly aligned, you’ll notice squeaking, rubbing, or reduced braking power. To fix this:
Proper rotor and caliper alignment ensures smooth braking and prevents uneven pad wear.
- Check for rotor warping by spinning the wheel and observing for wobble.
- Loosen the caliper bolts slightly, then squeeze the brake lever to center the caliper.
- Tighten the bolts while holding the brake lever, ensuring the caliper is aligned with the rotor without rubbing.
- Regularly inspect the brake system for signs of wear or misalignment to maintain optimal performance.
Proper caliper alignment prevents uneven pad wear and improves braking efficiency. Regularly inspecting and adjusting your caliper guarantees smooth operation and prolongs your brake system’s lifespan. Remember, a well-aligned rotor and caliper are key to safe, reliable stopping.
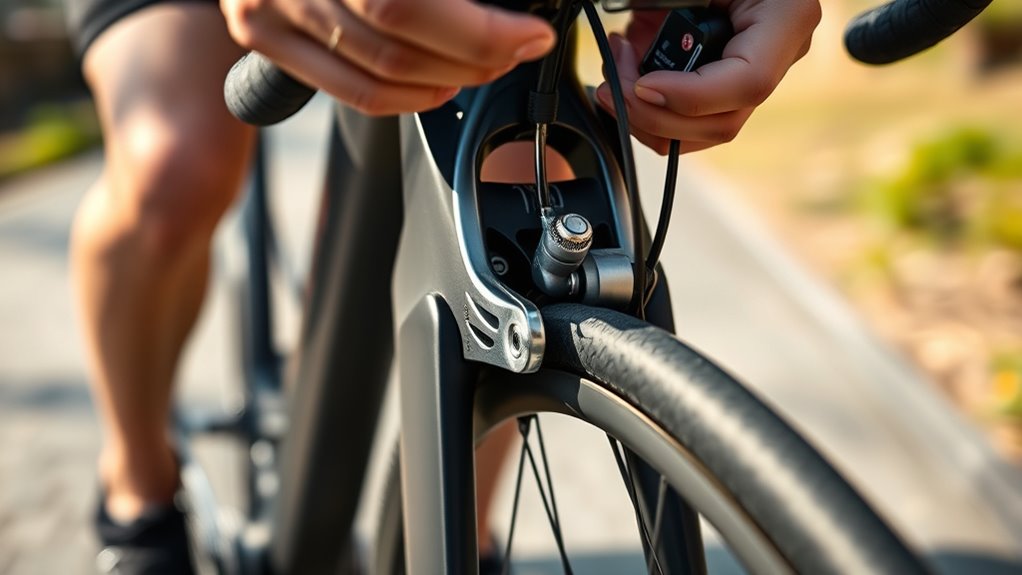
Adjusting the Brake Lever and Cable Tension
Start by positioning the brake lever so it feels comfortable and responsive when you squeeze it. Next, check the cable tension and tighten or loosen it as needed to make sure the brakes engage smoothly without excessive pull. Proper adjustment here guarantees consistent braking performance and better control on your ride. Incorporating sound vibrations into your maintenance routine can also help improve the responsiveness of your brake system over time.
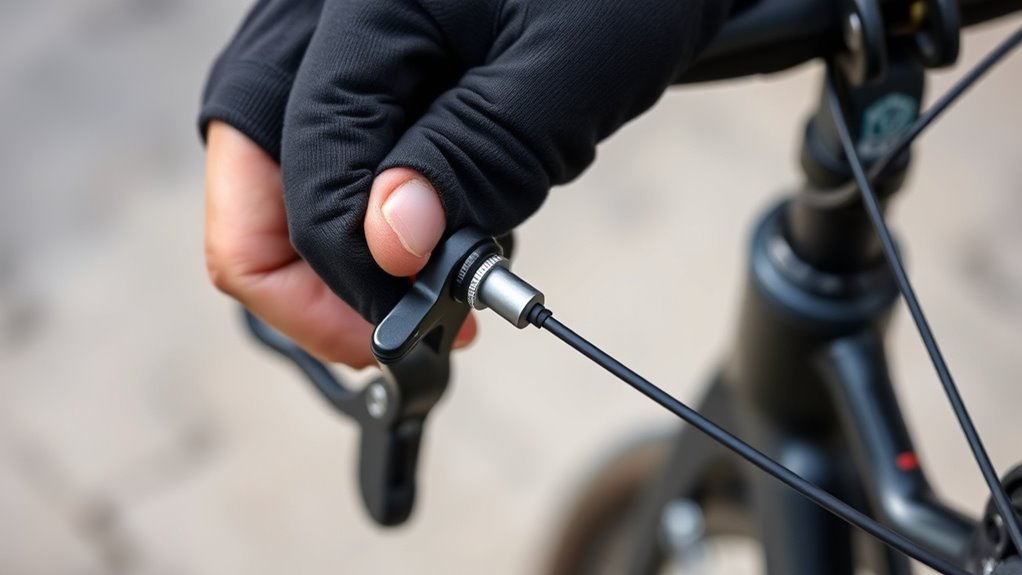
Brake Lever Positioning
Adjusting the brake lever positioning is essential for comfortable and effective braking. Proper brake lever ergonomics ensure you maintain rider comfort and control. To do this effectively:
- Loosen the clamp bolt, so you can move the lever to your preferred position.
- Adjust the lever height to align with your finger length, minimizing strain during braking.
- Tighten the clamp securely, making sure the lever feels natural and accessible without overextending your fingers.
Keep testing the lever feel after each adjustment, ensuring it’s easy to reach without causing discomfort. When done correctly, your brake lever positioning enhances rider comfort and responsiveness, making every ride safer and more enjoyable.
Cable Tension Adjustment
To guarantee your e-bike’s brakes respond promptly and smoothly, you need to set the correct cable tension. For mechanical brakes, this involves tightening or loosening the brake cable at the lever or caliper to eliminate slack. Top-rated anime films can offer some insight into popular content, but for your bike, focus on adjusting the cable tension to ensure proper brake function. Hydraulic brakes differ because they use brake fluid types like mineral oil or DOT fluid; instead of cable tension, you adjust the brake lever’s reach or bleed the system to ensure proper responsiveness. When working with mechanical systems, ensure the cable is taut but not overly tight, preventing brake pad drag. For hydraulic systems, focus on adjusting the lever reach or replacing brake fluid if the brake feels spongy. Proper cable tension or fluid pressure guarantees reliable, consistent braking performance, whether your bike uses hydraulic or mechanical disc brakes.
Testing and Fine-Tuning Your Brake Performance

Before riding, it’s essential to test your brake performance to guarantee everything works smoothly. Start by riding gently and applying the brakes to ensure they engage quickly and stop the bike effectively. If you notice any issues, consider these steps:
- Check your brake pad replacement if the pads are worn down or uneven, which can affect stopping power.
- Inspect the rotor for truing; a warped rotor causes vibrations and inconsistent braking.
- Fine-tune your brake lever feel by adjusting the cable tension or hydraulic calipers, ensuring neither too tight nor too loose.
- Remember that industry trends such as new brake technologies and materials can influence maintenance and performance options.
Tips for Maintaining Your Disc Brakes for Longevity
Regular maintenance is key to keeping your disc brakes performing reliably over time. Start by checking your brake fluid maintenance schedule; low or contaminated brake fluid can reduce braking power and cause damage. If you notice sponginess or decreased responsiveness, consider flushing and replacing the fluid. Additionally, caliper piston cleaning is essential to prevent sticking and uneven brake pad wear. Carefully remove the calipers and gently clean the pistons with a soft cloth and brake cleaner, making sure they move freely. Regularly inspect brake pads for wear and replace them when necessary to avoid rotor damage. Keeping your brake system clean and well-maintained guarantees consistent performance and prolongs the lifespan of your disc brakes, saving you time and money in the long run. Remember, using vetted components and tools can ensure optimal maintenance and safety.
Frequently Asked Questions
How Often Should I Check My E-Bike Disc Brakes?
You should check your e-bike disc brakes every few rides or at least once a month, especially if you ride often or rough terrains. Look for brake pad wear and make sure rotor alignment is proper. If you notice decreased braking power, strange noises, or uneven pad wear, it’s time to inspect and possibly adjust or replace your brake pads and realign the rotor, keeping your brakes safe and effective.
Can I Adjust Disc Brakes Without Removing the Wheel?
Adjusting disc brakes without removing the wheel is totally doable and saves you from a mountain of hassle. You can realign the caliper and check pad wear by loosening the caliper bolts and gently repositioning it. Make sure the caliper is perfectly aligned with the rotor for smooth braking. No need to remove the wheel—just a few tweaks, and your bike’s brakes will work like magic!
What Signs Indicate My Brake Fluid Needs Replacing?
If your brake fluid looks dark or cloudy, it’s a sign you need a replacement. You might also notice decreased braking power or a spongy feel when you pull the brake lever. Brake fluid needs regular replacement based on your bike’s recommended intervals, usually every 1-2 years. Keep an eye on these signs to make certain your brakes work effectively and stay safe during rides.
Are There Safety Precautions for High-Speed Brake Adjustments?
Imagine guiding a delicate dance where safety takes the lead. When adjusting your high-speed brakes, always check for signs like brake pad wear and hydraulic fluid leaks. Use protective gloves and goggles to shield yourself from unexpected fluid spray. Avoid rushing, and make sure your bike is stable. These precautions help prevent accidents, letting you enjoy smooth, secure stops without risking injury or damage during your brake adjustments.
How Does Ambient Temperature Affect Brake Performance?
Ambient temperature can considerably impact brake performance, as temperature effects influence how your brakes respond during rides. When it’s hot, brakes may overheat, causing reduced stopping power or brake fade. Cold temperatures can make brake components less responsive, leading to longer stopping distances. To maintain ideal performance, check your brakes regularly, especially in extreme weather conditions, and adjust or service them if you notice diminished effectiveness caused by temperature effects.
Conclusion
With a little patience, adjusting your e-bike disc brakes becomes simple and rewarding. Don’t worry if it takes a few tries—you’ll get the hang of it quickly. Properly maintained brakes guarantee your safety and improve riding experience. Regular checks and adjustments prevent costly repairs down the line. So, take charge of your bike’s performance, and enjoy smooth, reliable stops every time you hit the road or trail.